
Danger area crossing procedure
Step 1: Establish Security
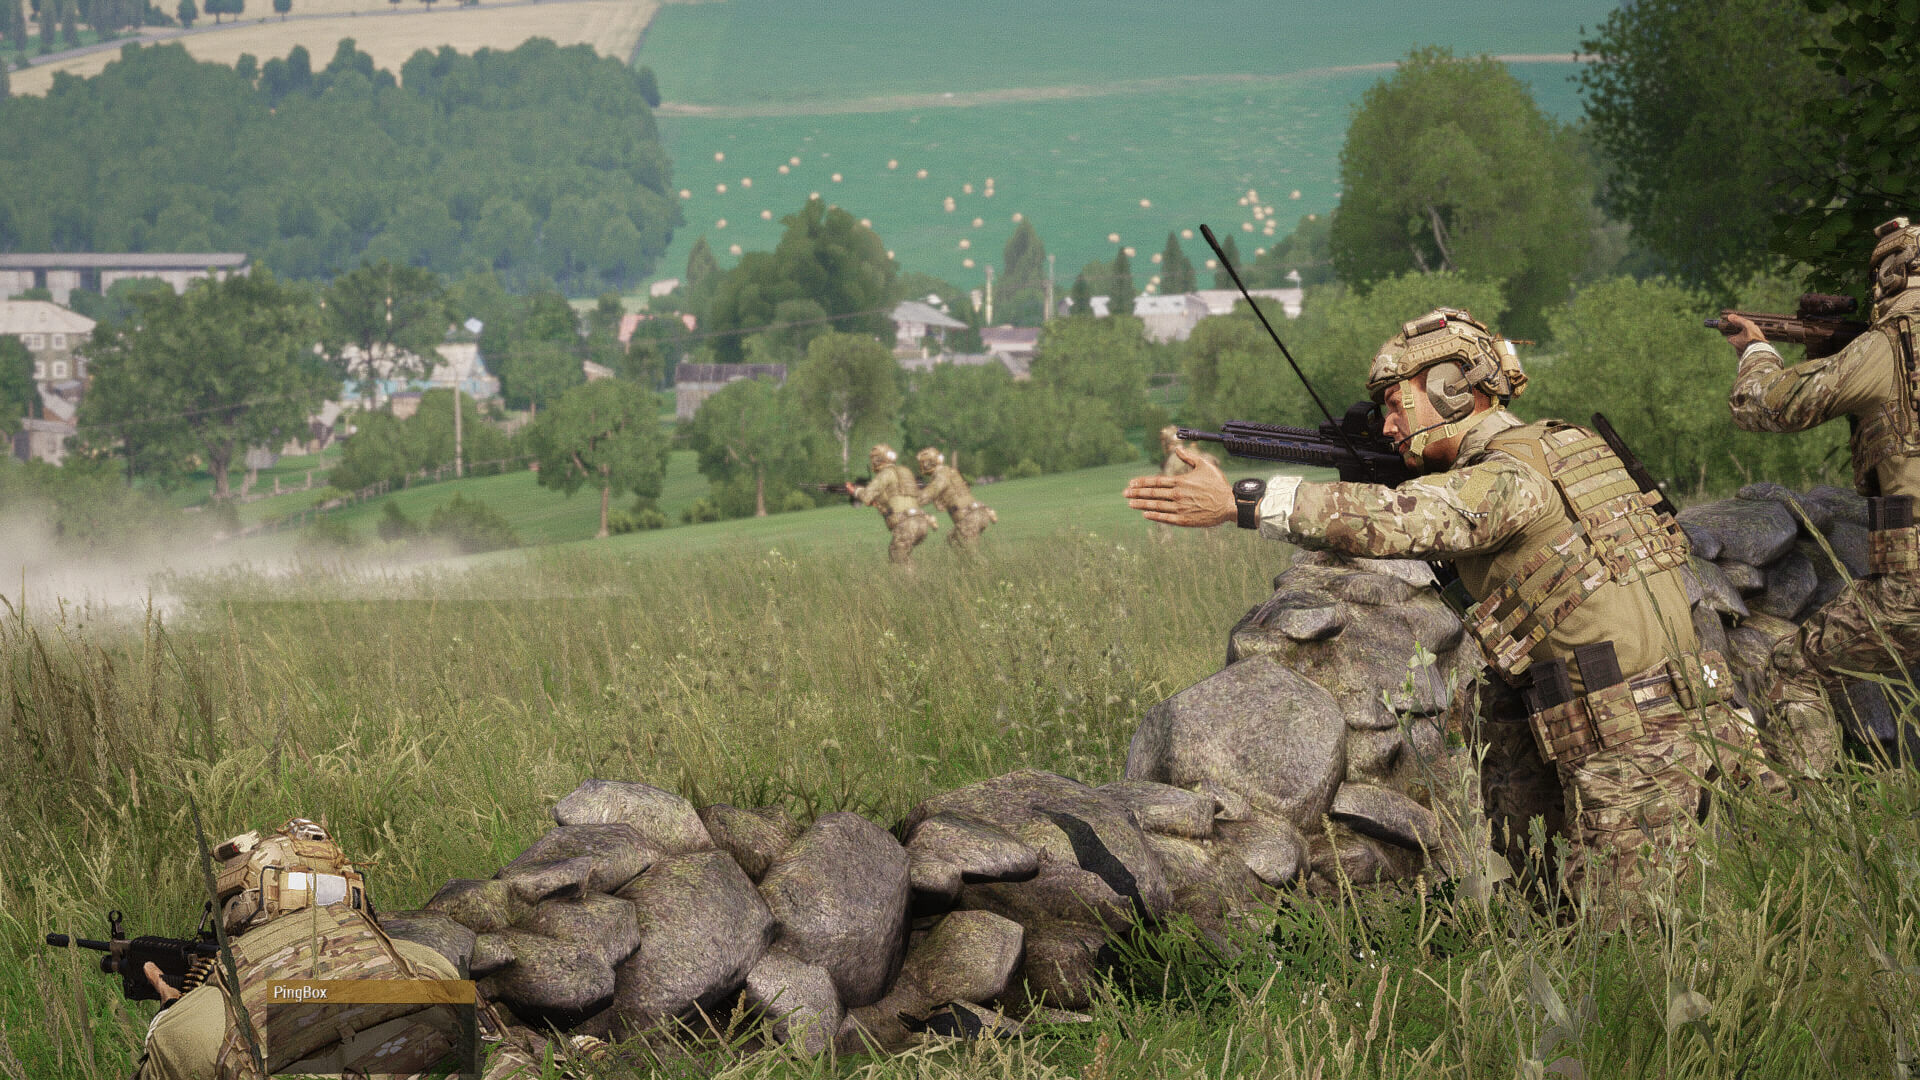
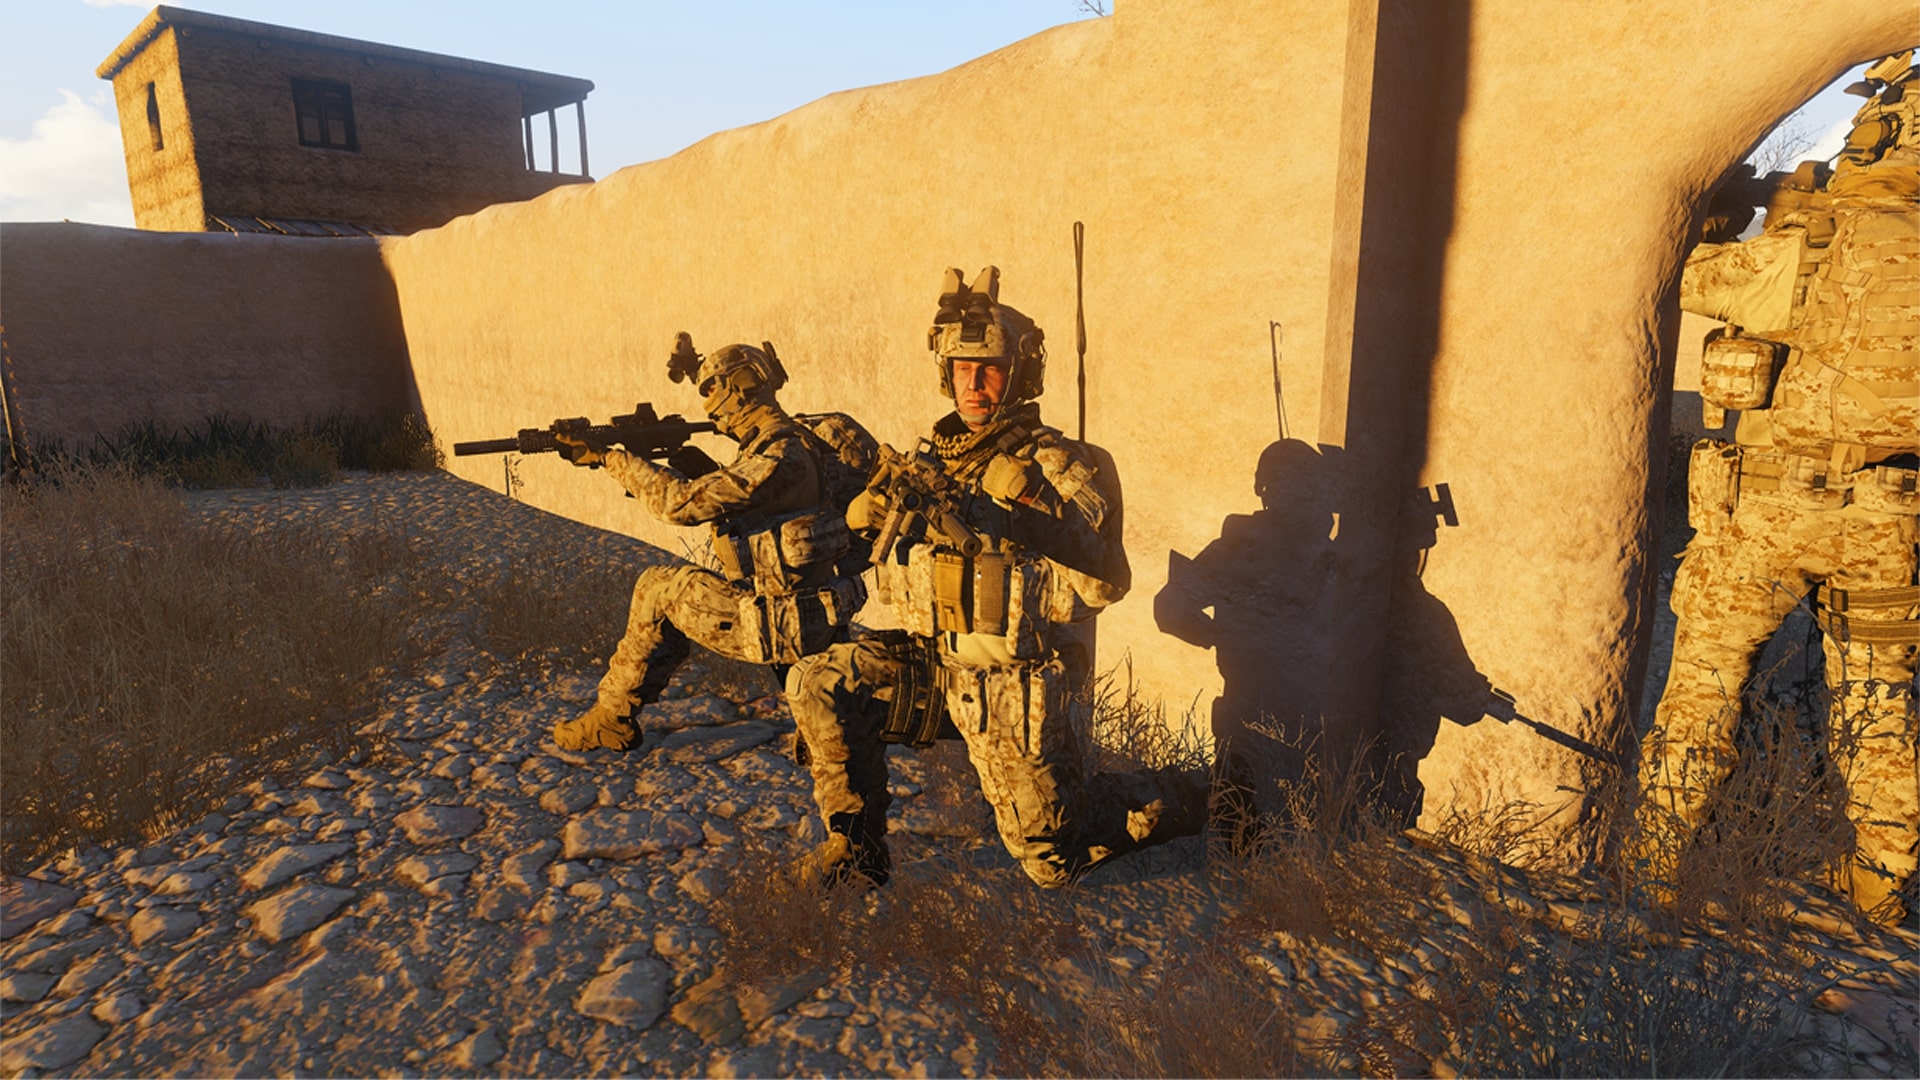
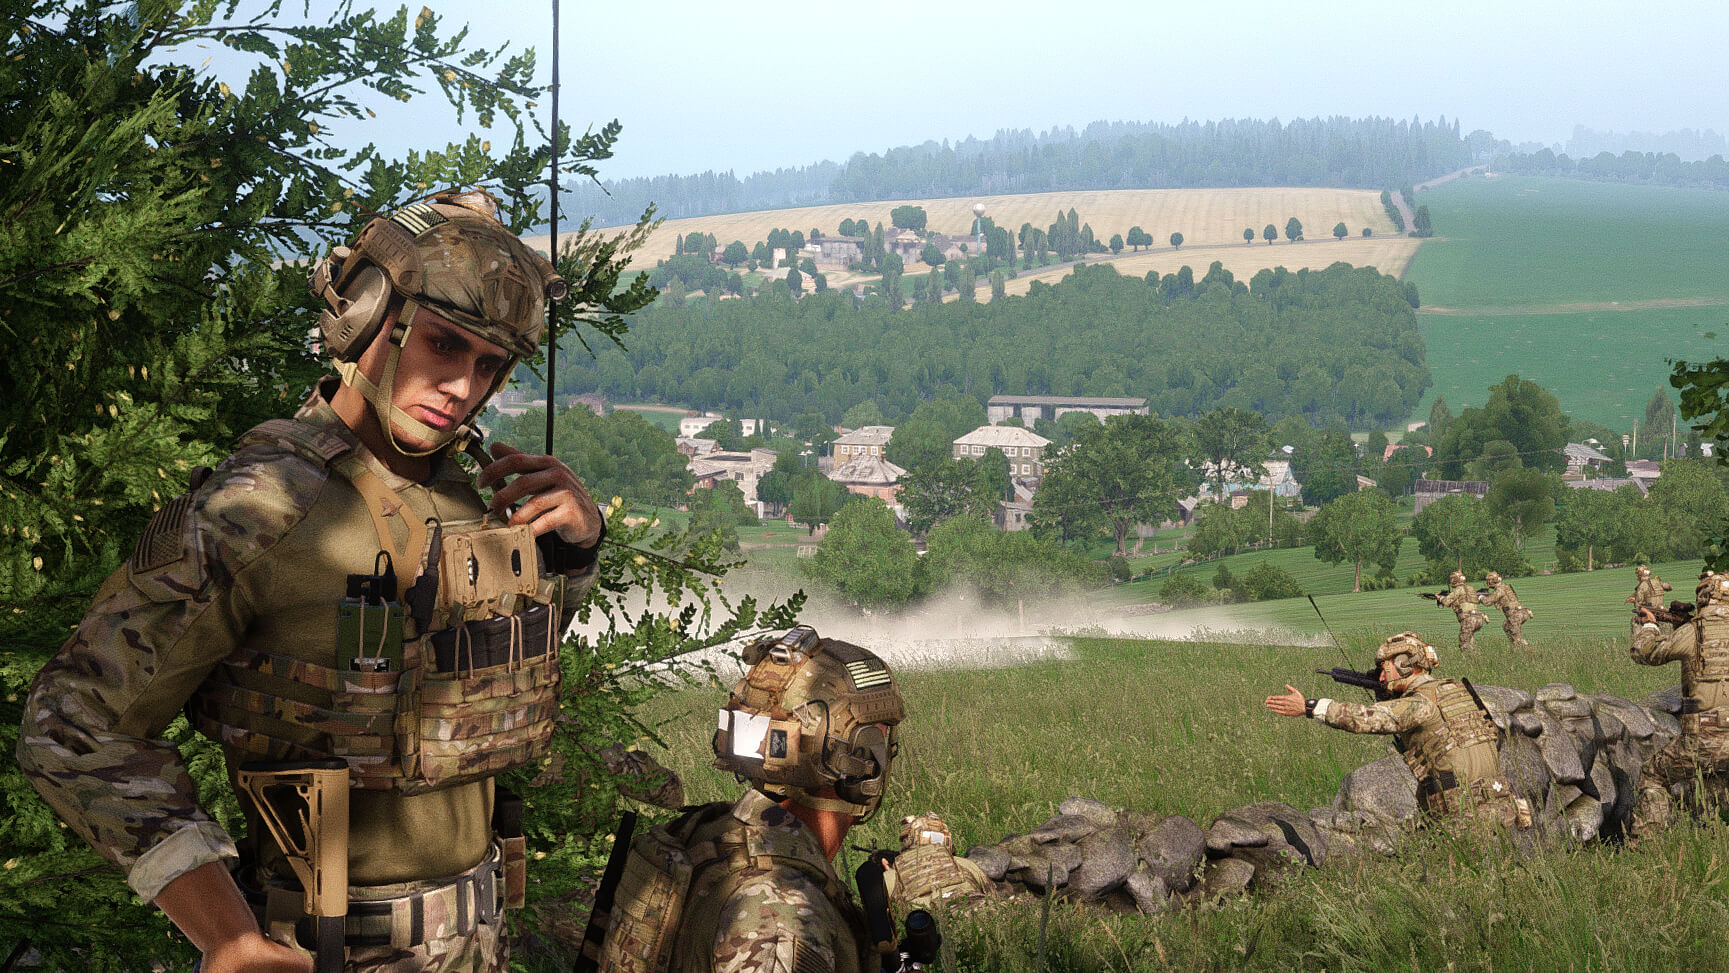
- Form a security element to cover the danger area before attempting to cross.
- Use at least half the force to provide overwatch.
- Ensure wide spacing to reduce visibility.
- Security observes flanks, rear, and the danger area itself.
Step 2: Scout the Far Side
- Send a scout element to cross and clear the far side.
- Typically fireteam-sized.
- Conduct limited penetration to check for threats.
- Provide overwatch for main body during their crossing.
Step 3: Controlled Crossing
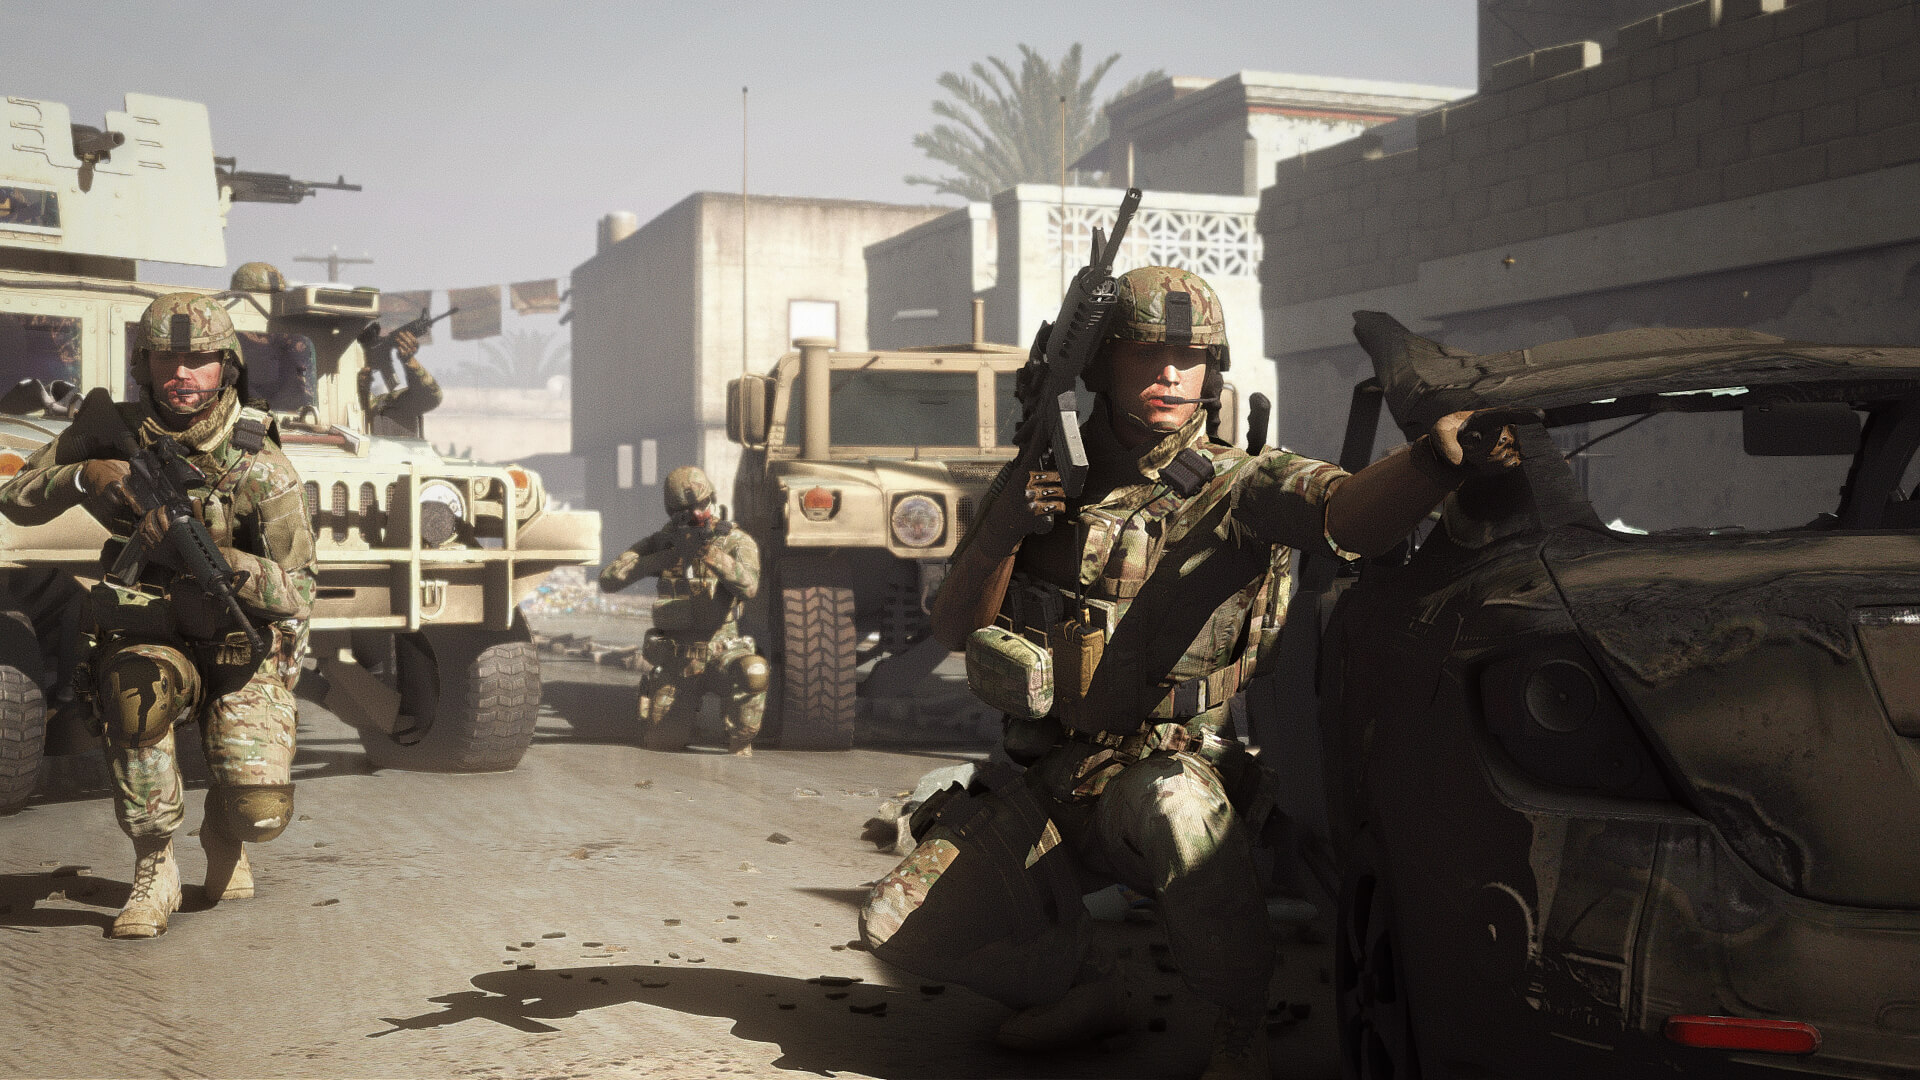
- Once scouts report clear, remaining elements cross sequentially.
- Cross one element at a time.
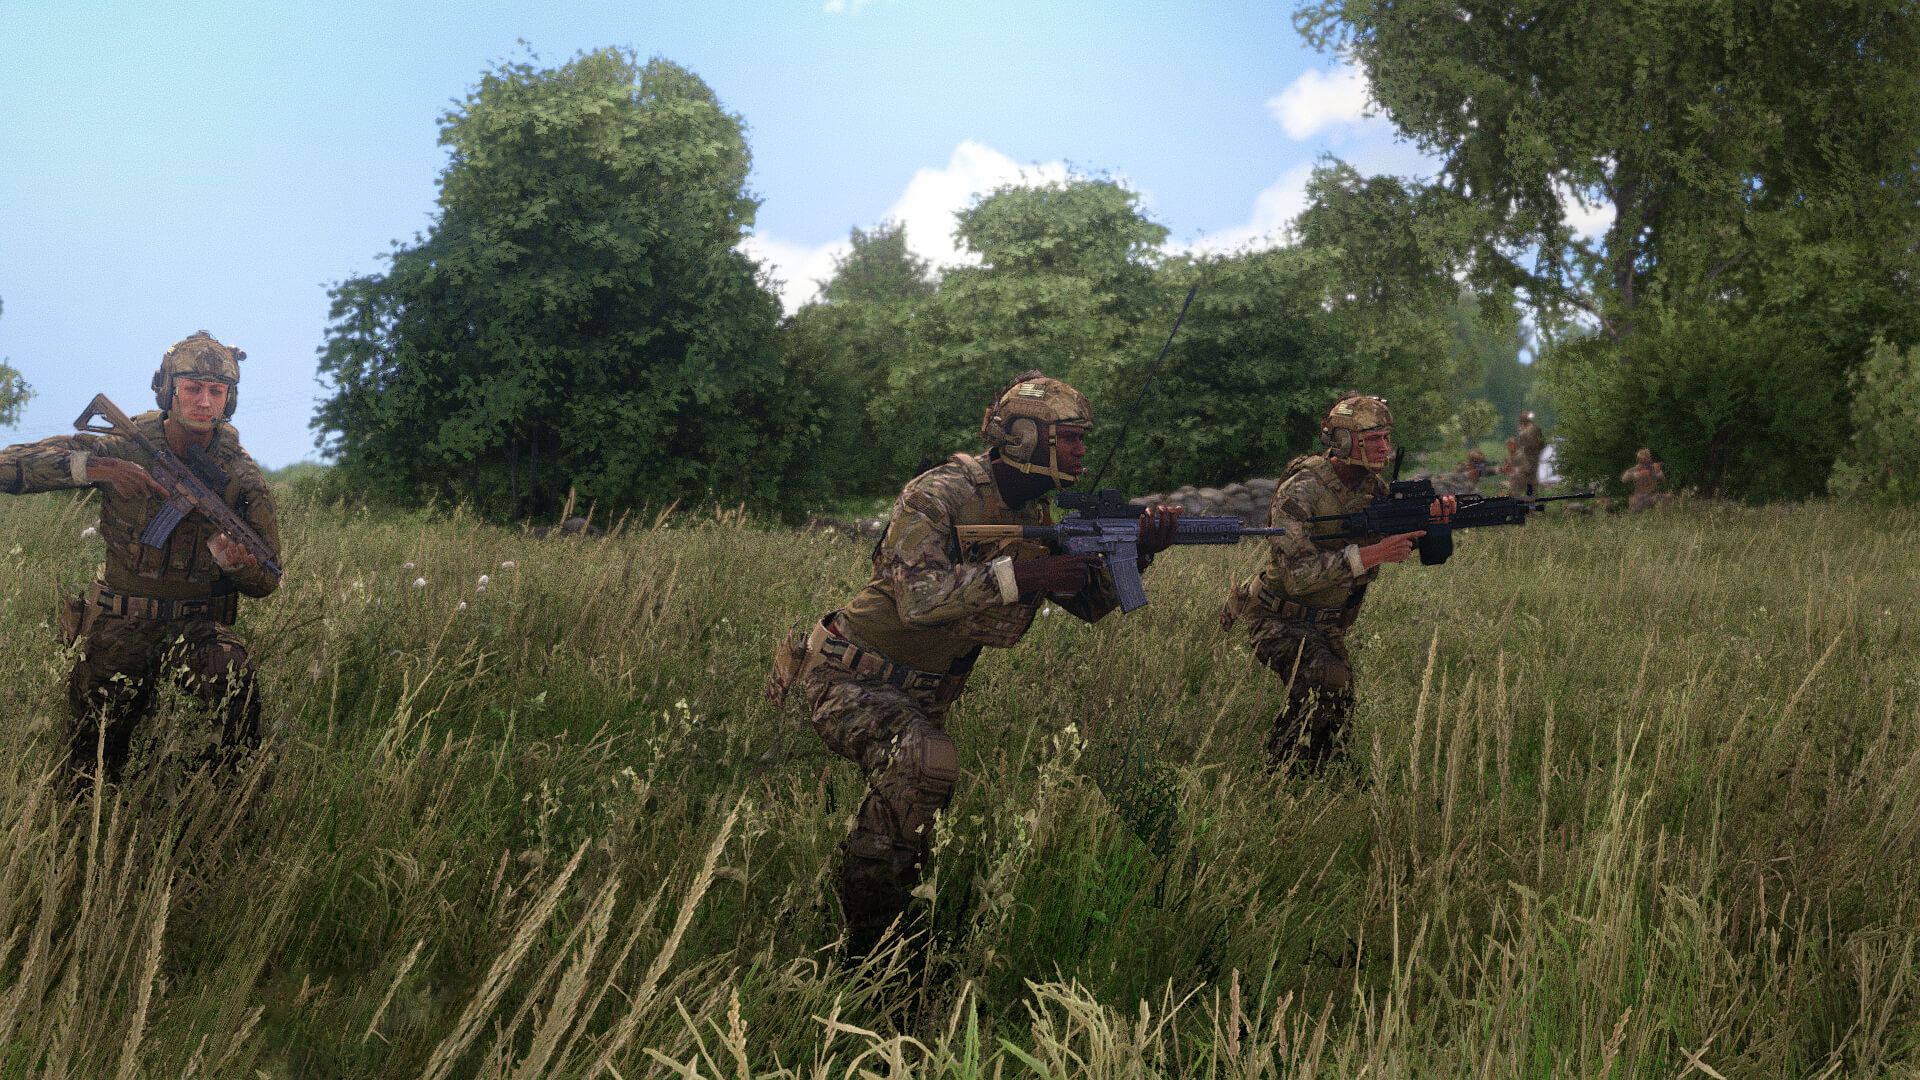
- Maintain spacing and speed.
- Do not bunch up or rush the crossing.
Step 4: Consolidate After Crossing
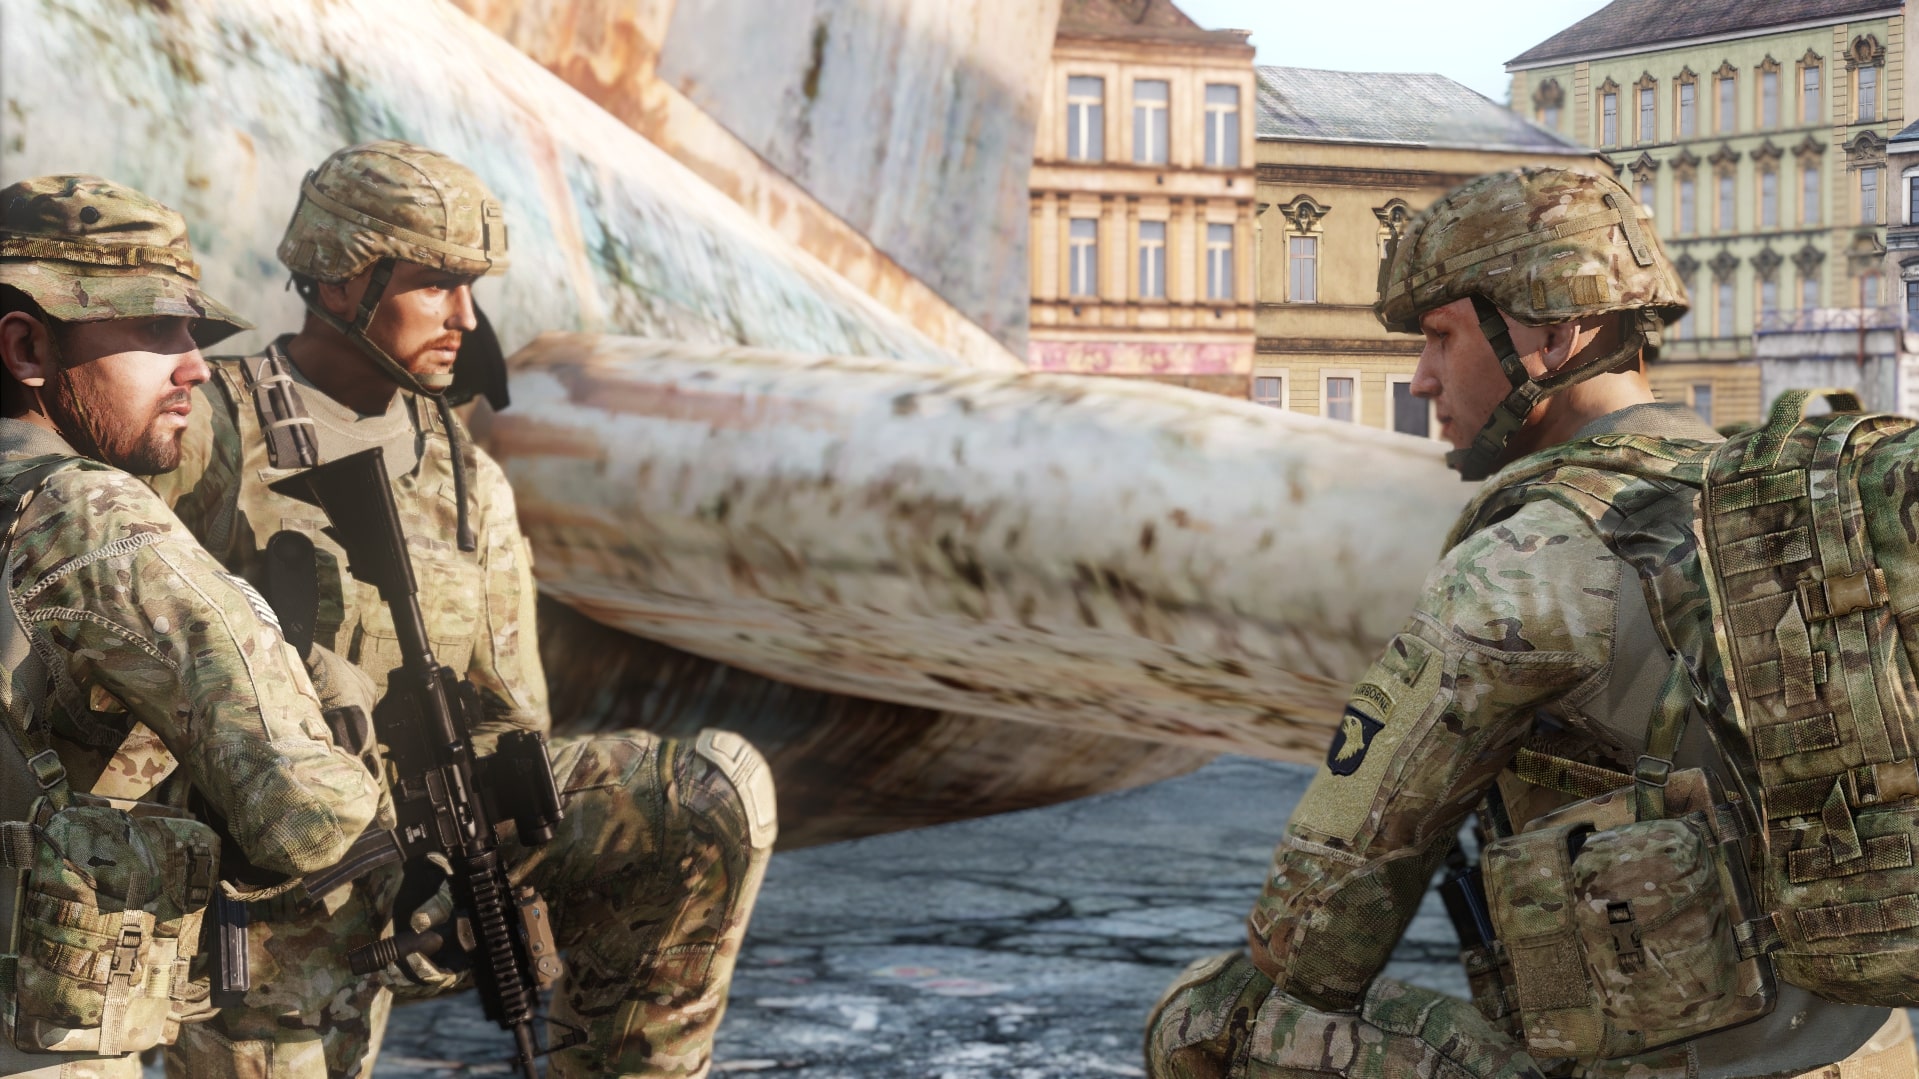
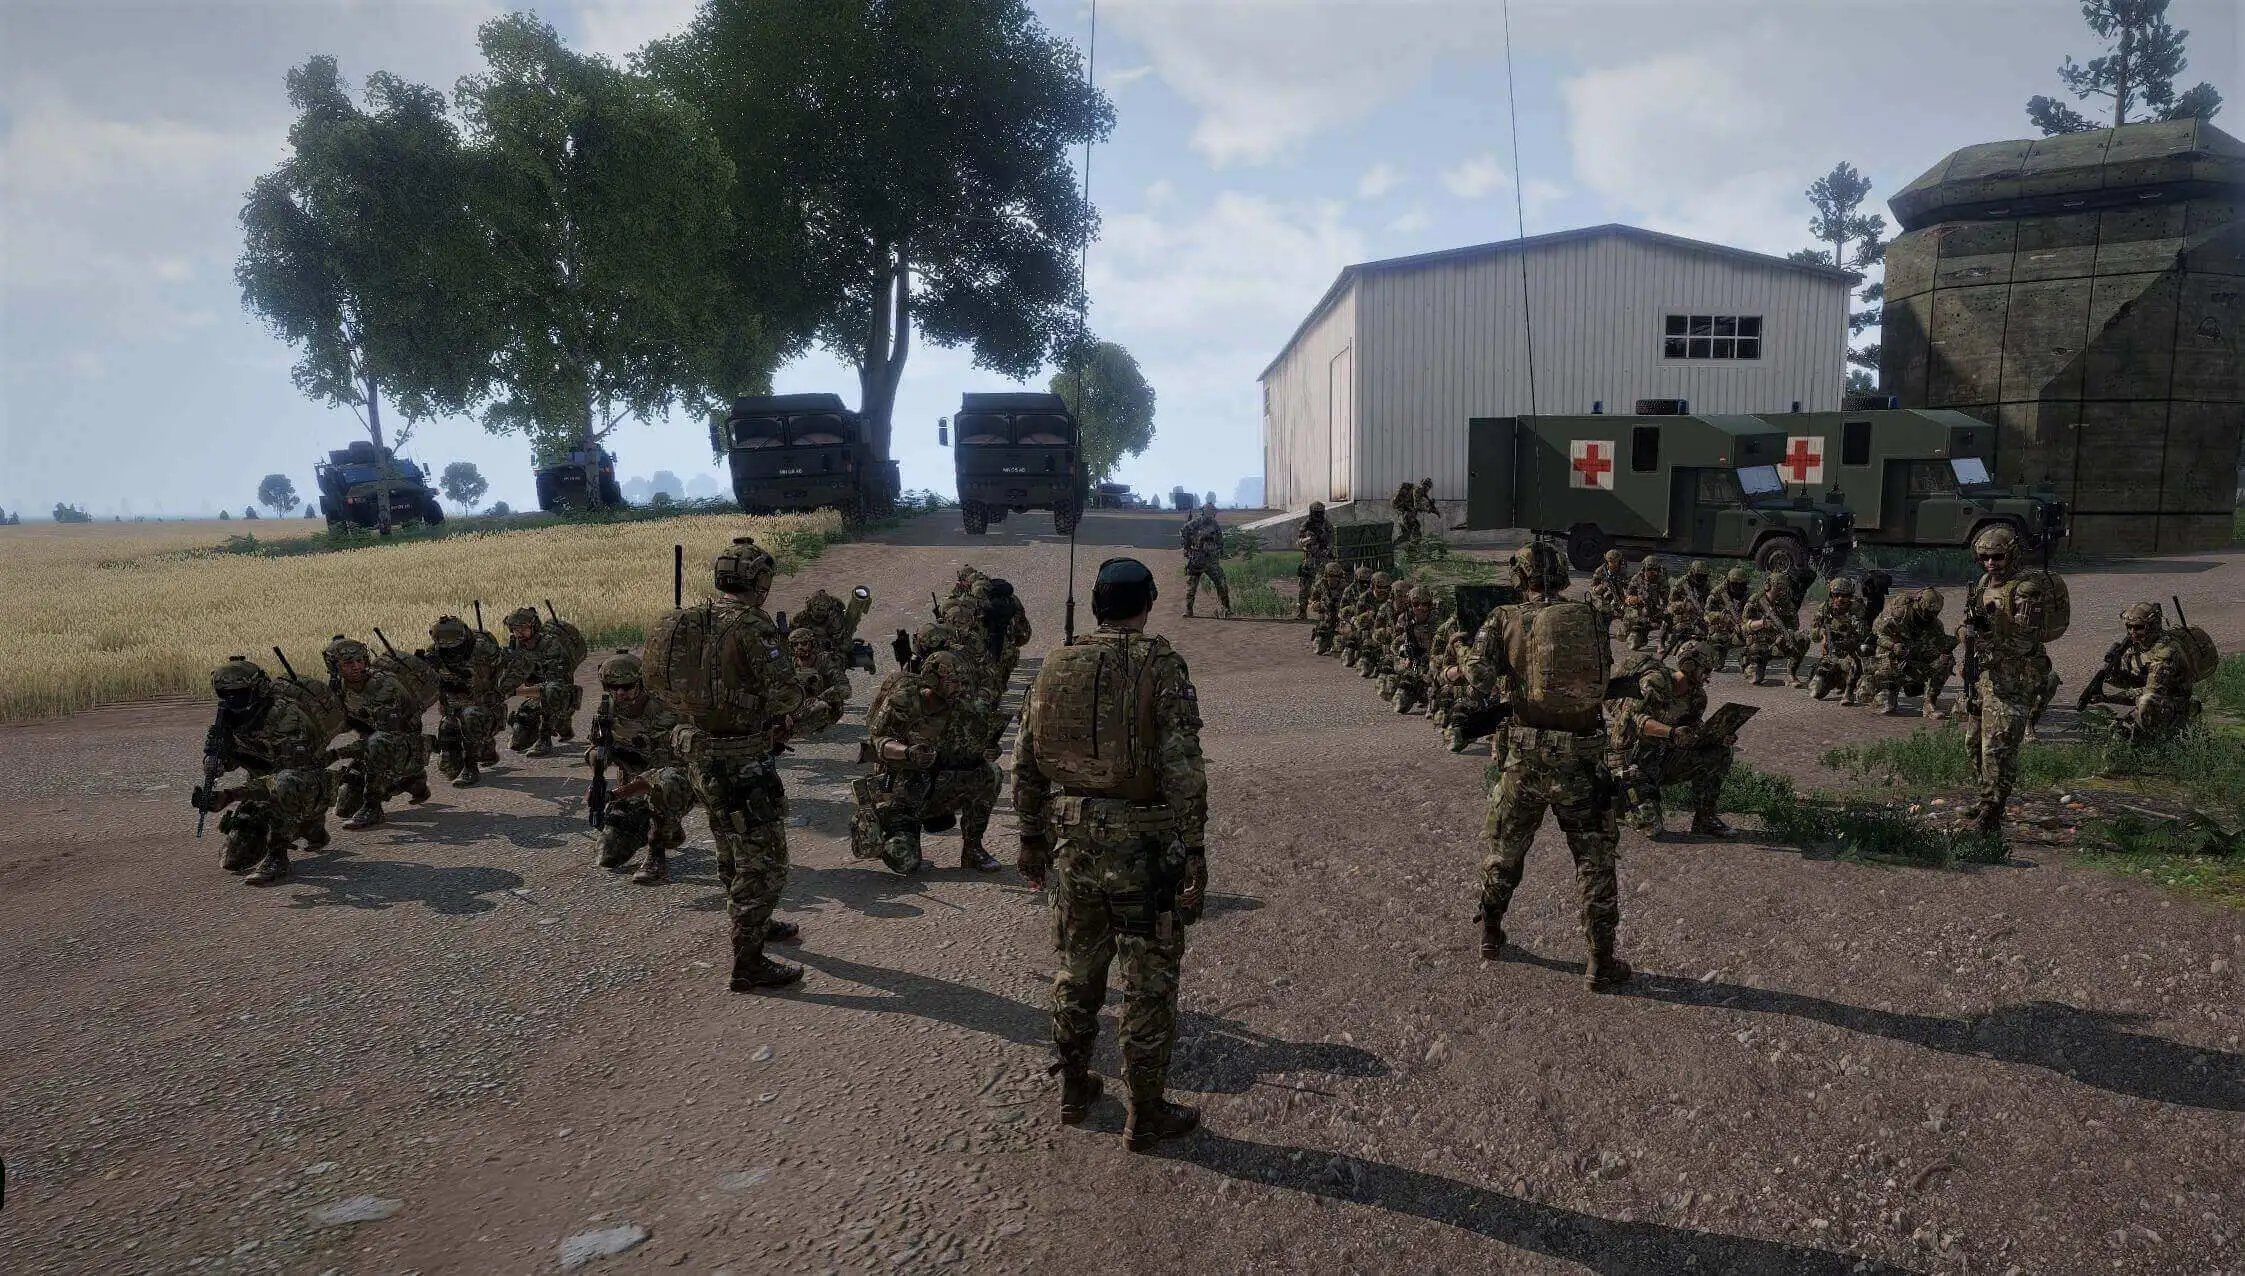
- Once all elements are across, regroup and continue the mission.
- Re-establish control and situational awareness.
- Ensure no one is left behind or disoriented.